'Zebra' cake is one of those homemade desserts that requires no complex confectionery techniques yet always looks festive. Its key feature is the striped pattern, which forms naturally when baking two types of batter: light vanilla and chocolate. Styler editor Anastasia Ostapova based this on the classic 'Zebra' recipe from the culinary site SHUBA, supplementing it with a homemade cocoa, milk, and butter-based chocolate glaze to enhance the flavor and make the dessert juicier and more delicate.
The Secret of the Striped Pattern
You don't need to draw the 'Zebra' pattern by hand; it appears by alternately placing two masses into the center of the pan. As they bake, the light and chocolate batters gradually spread, creating concentric circles. If desired, the pattern can be made more pronounced by running a wooden skewer from the center toward the edges—the main thing is not to stir the mass too intensely, otherwise, the stripes will blur and become invisible.
Kefir and Egg Base
For the batter, room-temperature kefir is poured into a large bowl, baking soda is added, and it is whisked. Then, regular and vanilla sugar are poured in, salt is added, and the eggs are cracked in, whisking until homogeneous. Next, refined sunflower oil and one cup of sifted flour are added, continuing to whisk so no lumps remain in the batter. The resulting smooth and fairly fluid base is divided into two parts: cocoa powder is added to one and mixed to a uniform chocolate color, while the remaining flour and baking powder are added to the second. It is important that both parts have roughly the same consistency; otherwise, the batter will spread unevenly in the pan.
How to Layer the Pattern
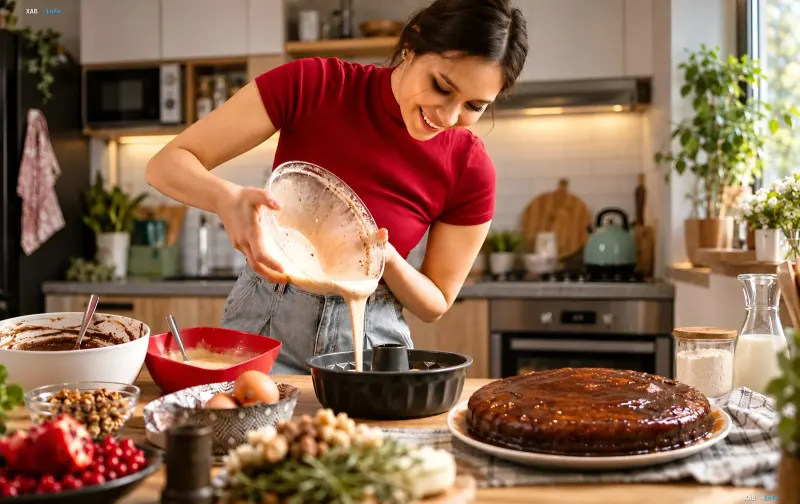
As recommended by SHUBA, use a round springform pan with a diameter of 24–26 cm. Spoon a few portions of light mass into the center of the pan, followed by the same amount of chocolate mass, pouring each subsequent portion into the center of the previous one. This causes the batter to spread gradually, forming the characteristic stripes. If a more intricate pattern is desired, use a wooden skewer to draw lines from the center toward the edges without stirring the mass too vigorously.
Baking and Checking for Doneness
Place the pan in an oven preheated to 180 °C. The estimated baking time is 40–45 minutes, though this may vary depending on the specific oven and the size of the pan. Check for doneness with a wooden skewer: gently pierce the center of the cake, and if no raw batter remains on it, the dessert is ready to be removed. After this, let the cake sit in the pan for a little while to cool slightly, then carefully transfer it to a plate.
Homemade Chocolate Glaze
In this version, the glaze is made without solid chocolate bars—all ingredients are easily found in any regular store. In a small saucepan, mix cocoa powder with sugar to prevent lumps, then gradually add milk, stir thoroughly, and place on low heat, stirring constantly until the sugar dissolves and the mass becomes homogeneous. Once the glaze is well-heated and begins to boil slightly, add butter and mix until fully dissolved, creating a smooth, shiny chocolate mass. Do not leave the sugar mixture unattended, as it can burn quickly. Allow the finished glaze to cool slightly so it thickens but remains pourable, then pour it over the cooled cake and spread it across the surface; some of the mass will flow down the sides, forming a neat finish without additional decor.
Nuances That Decide Everything
For a successful dessert, keep a few details in mind. First, use room-temperature products: it is better to take the kefir and eggs out of the fridge in advance, as ingredients mix easier this way and the batter comes out more uniform. Second, watch the consistency: both parts of the batter should be roughly the same thickness, and if the chocolate mass is too dense, add a little kefir. And third, don't rush through each step—the pattern, the juiciness of the finished two-tone cake, and the rich chocolate coating all depend on careful layering and patience when heating the glaze.