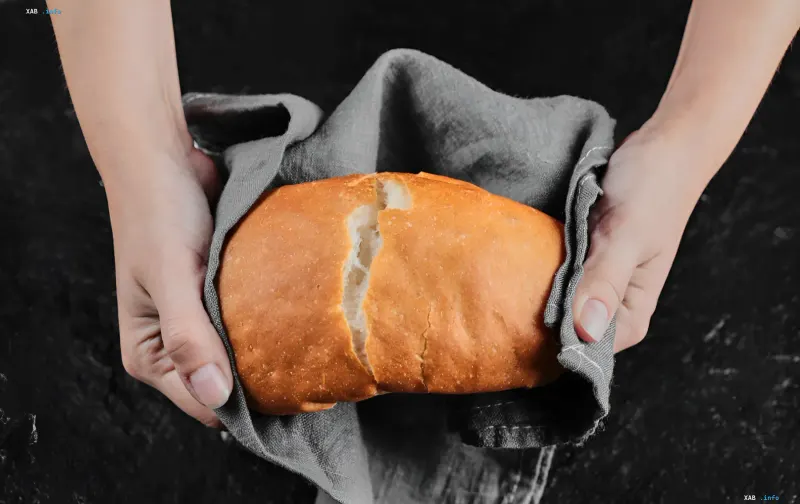
For those who dream of fresh homemade baked goods but are not ready to spend hours kneading and monitoring the rising process, the simplest format is bread baked in a baking sleeve. This is the recipe described by the lifestyle project Styler (RBC-Ukraine): a minimum of ingredients, about five minutes of kneading, and a consistent result of soft crumb with an even golden crust. The photo accompanying the material shows a finished loaf with a characteristic cut, held in a gray linen towel to avoid burning hands.
Ingredients and dough kneading
The basis of the recipe is a classic set: flour, yeast, sugar, salt, vegetable oil, and warm water. First, the yeast and sugar are dissolved in warm water, then flour, salt, and oil are added, and a soft dough is kneaded. According to the editors, it is enough to knead it for about five minutes — this is the key advantage of the recipe: it does not require long manual labor or a dough mixer. After kneading, the dough is left to rise.
Shaping and preparation for baking
The risen dough is slightly rolled out into a small rectangle, tightly rolled into a roll, the seam is well pinched, and the edges are tucked under to get a neat oval blank. It is transferred to parchment, the surface is slightly moistened with water, and optionally sprinkled with sesame, flax, or pumpkin seeds. Several shallow cuts are made on top — it is these that open up during baking and form a decorative "crack," as in the illustration.
Baking in a sleeve: temperature regime
The blank, together with the parchment, is transferred to a baking sleeve, the edges are tied, leaving free space inside, since the bread increases noticeably in volume during baking. Before sending it to the oven, the blank is given another 20 minutes while the oven heats up. Bake at 180 °C for approximately 35–45 minutes, depending on the specific oven. An important warning from the editors: the sleeve must not touch the walls or heating elements when it inflates with steam — if it bursts, the steam will escape and the bread will lose that very thin crispy crust.
The secret of a crispy crust
For a more pronounced crispy crust, the culinary resource King Arthur Baking, specializing in baking, advises leaving the bread in the turned-off oven with the door closed for another 5–10 minutes after baking. This simple trick allows the crust to "finish cooking" and become denser and more aromatic without drying out the crumb.
Why the recipe works the first time
The baking sleeve creates a moist environment around the dough, which prevents the surface from drying out and gives a soft, pliable crumb, while the crust remains golden and thin. The combination of short kneading, simple shaping, and controlled time in the oven makes the recipe resistant to errors: even with small deviations in rising or oven power, the result remains predictable. That is why such recipes are called "every day" — they do not require experience and special equipment, except for an oven and a sleeve.