The trend of making homemade bread in a roasting sleeve promises simplicity: knead the dough, let it rise, and put it in the oven without any special baking mold or bread maker. Styler editor Nataliia Kryzhanovska tested the recipe in practice and got a golden, aromatic loaf with a crispy crust. Below is a step-by-step breakdown of what to consider during kneading, proofing, and baking, as well as why the sleeve noticeably inflates during the process and what to do about it.
Ingredients and Kneading: Why Sticky Dough Is Normal
Simple products that are usually already in the kitchen are used for a single loaf: wheat flour (500 g in the recipe), warm but not hot water, salt, and yeast. It is important not to overheat the water: excessively high temperatures damage the yeast and prevent the dough from rising. Salt is added to the water, then sifted flour is gradually added, and the dough is kneaded. It turns out soft and may stick to your hands — this is a normal condition, not a mistake. For convenience, palms can be lightly greased with vegetable oil. The key recommendation is not to add extra flour if the dough seems sticky, otherwise, the finished bread will turn out too dense.
Proofing and Shaping the Loaf
After kneading, the dough is transferred to a bowl, covered with plastic wrap or a clean towel, and left in a warm place for about 40 minutes, during which it noticeably increases in volume. The exact time depends on the kitchen temperature and yeast activity, so you should focus on the visually risen dough rather than strictly by the clock. Then, a neat loaf is formed from the dough — the shape can be chosen according to preferences, it does not affect the taste. Optionally, the surface is slashed with a knife so that the finished crust looks neater.
Baking in the Sleeve: 40–50 Minutes and Bag Inflation
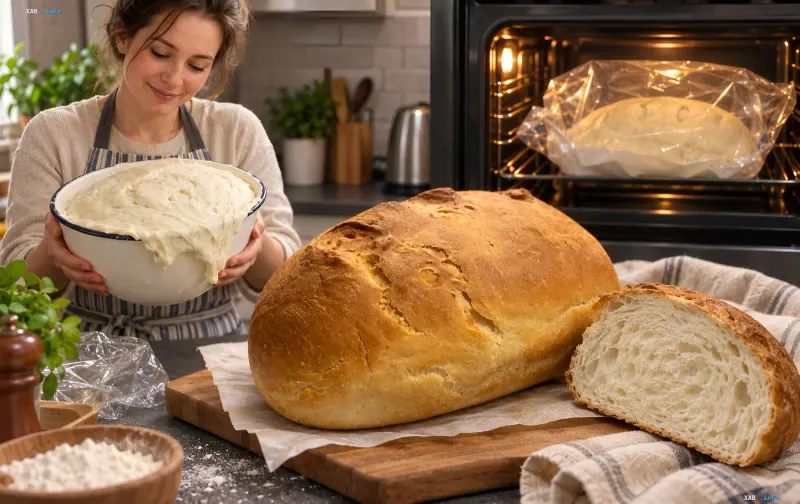
The finished loaf is transferred to parchment paper (making it easier to move) and placed into a roasting sleeve, with the edges securely fastened. Bake for about 45 minutes — usually a range of 40 to 50 minutes is enough for the bread to bake thoroughly and get a golden crust, although the exact time should be adjusted for your specific oven. During baking, the sleeve begins to noticeably inflate: when heated, water from the dough evaporates, and hot steam and air accumulate inside the bag, causing it to expand. As noted by Reynolds Kitchens, sleeve manufacturers design them to accommodate volume expansion, so you must leave enough space in the oven and prevent the sleeve from contacting heating elements, walls, or racks. Additional punctures in the sleeve before and during baking are not required, but it is important to follow the specific manufacturer's instructions.
Result: 815 Grams of Bread from 500 Grams of Flour
After baking, the bread is immediately removed from the oven and the plastic film is cut open. By weight, the finished loaf amounted to 815 grams — from 500 g of flour and other ingredients, you get a full-fledged homemade bread that is enough for more than one breakfast. According to the recipe author's assessment, the bread turned out crispy on the outside, tender on the inside, and delicious, while the process itself does not require complex culinary skills. This is a suitable option for those who want to try homemade baking but are not ready to spend a lot of time on complex recipes.